

Ductless mini-split systems offer efficient heating and cooling using advanced heat pump technology, eliminating the need for traditional ductwork. Ideal for rooms like bedrooms, home offices, and garages, these systems are a cost-effective alternative to conventional HVAC units. Whether you’re looking to install a cooling-only system or a full mini-split AC unit, this comprehensive guide will walk you through the installation process step by step.
Safety Note: Installing ductless mini-split systems involves working with refrigerant lines and high-voltage electrical connections. In some states, licensed professionals are required to perform these HVAC services. Verify with your local code official to ensure compliance with necessary licensing and permit regulations. Additionally, installation instructions may vary based on the manufacturer, so always refer to the manual provided with your specific unit for detailed wiring instructions.
Step 1: Select The Perfect Mini-Split System
Embarking on a DIY mini split installation involves strategically positioning a condensing unit outside your home, arranging an air handler inside, connecting refrigerant lines, and ensuring proper electrical wiring. Although most ductless mini split systems necessitate professional installation due to the complexities of handling refrigerant lines, a partial DIY approach is feasible—this entails setting up the air handler and condenser unit personally and enlisting a professional solely for refrigerant line setup.
As an alternative, DIY mini splits come pre-charged with refrigerant, eliminating the need for professional intervention in this regard. Crafted to regulate the temperature within a single room rather than across a vast expanse, these DIY ductless mini split systems offer a convenient cooling and heating solution. Scroll through this comprehensive guide to familiarize yourself with the installation process for a ductless mini split system within your residential or commercial space.
Prior to initiating installation procedures, selecting a mini split system tailored to your specific needs is imperative. Here are the options at your disposal:
- Single-zone ductless mini splits: These units cater to heating or cooling a single area, such as a kitchen, bedroom, addition, attic, or garage, and are characterized by a singular air handler and condenser unit, making them the easiest to install.
- Dual-zone ductless mini splits: Designed for regulating the temperature of two distinct areas, these units boast two air handlers powered by a shared condenser unit, perfect for maintaining consistent temperatures across various rooms in a home.
- Multi-zone ductless mini splits: Intended for different zones, these units possess a condenser unit capable of accommodating multiple air handlers. Note that the installation of these systems may entail additional complexity, necessitating adherence to manufacturer guidelines when installing multi-zone mini split heat pumps.
Furthermore, determining the appropriate size of the mini split for your space, informed by the system’s British Thermal Unit (BTU) output, is crucial. Opt for a 2-ton mini split or a 4-ton mini split system, which are commonplace options capable of facilitating effective temperature regulation in spaces of varying sizes. Prior to purchase, thoroughly measure your area and perform square footage assessments to ensure selecting a well-fitted mini split that meets the BTU requirements of the space, with manufacturers offering sizing recommendations in their product manuals.
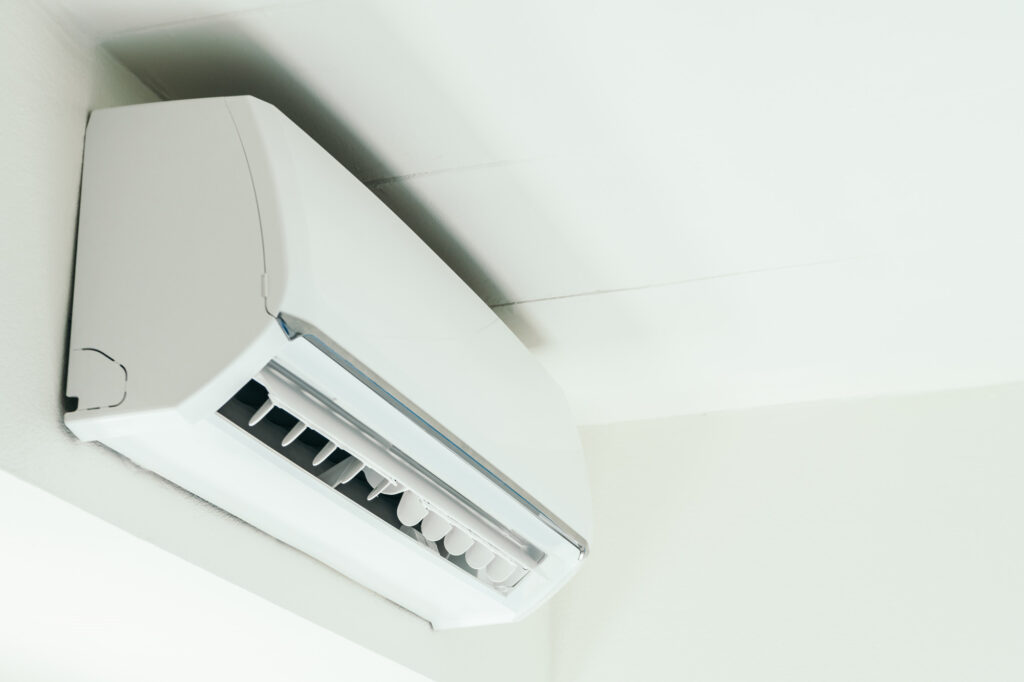
Step 2: Placement of The Indoor Unit

Select a suitable wall within the room that requires heating and/or cooling and connects to the exterior. Identify an unobstructed space on the wall large enough to accommodate the air handler, ensuring it is at least six feet above the floor. Avoid installing the unit in direct sunlight or near heat sources to maintain its efficiency. Adhere to the manufacturer’s recommended clearance between the air handler and the ceiling. Opt for a wall without obstructions outside, considering you will run refrigerant lines between the indoor and outdoor units through this wall.
Locate the studs in the wall and mount the plate directly onto them. Ensure alignment with the typical stud layout and plan for the drilling of a hole to the outside. Utilize a stud finder to identify any hidden objects and obstructions behind the wall.
Position the bracket for the wall unit securely and levelly, marking the mounting holes on the wall with precision. Drill pilot holes of a suitable size and consider using wall anchors if necessary. Drill a hole for the refrigerant lines, drain tubing, and control wires, taking note of the manufacturer’s guidelines.
Drill a downward-angled hole through the exterior wall after marking and pilot drilling, ensuring proper drainage. Connect the control wire to the indoor unit according to the specific model’s instructions.
Thread the refrigerant pipe, control wire, and drainage tubing through the hole in the wall, securing them together with electrical tape. Lift the indoor unit onto the wall mount and feed the bundled components through the hole. Fasten the indoor unit onto the mount using the provided hardware.
Step 3: Mounting the Outdoor Unit
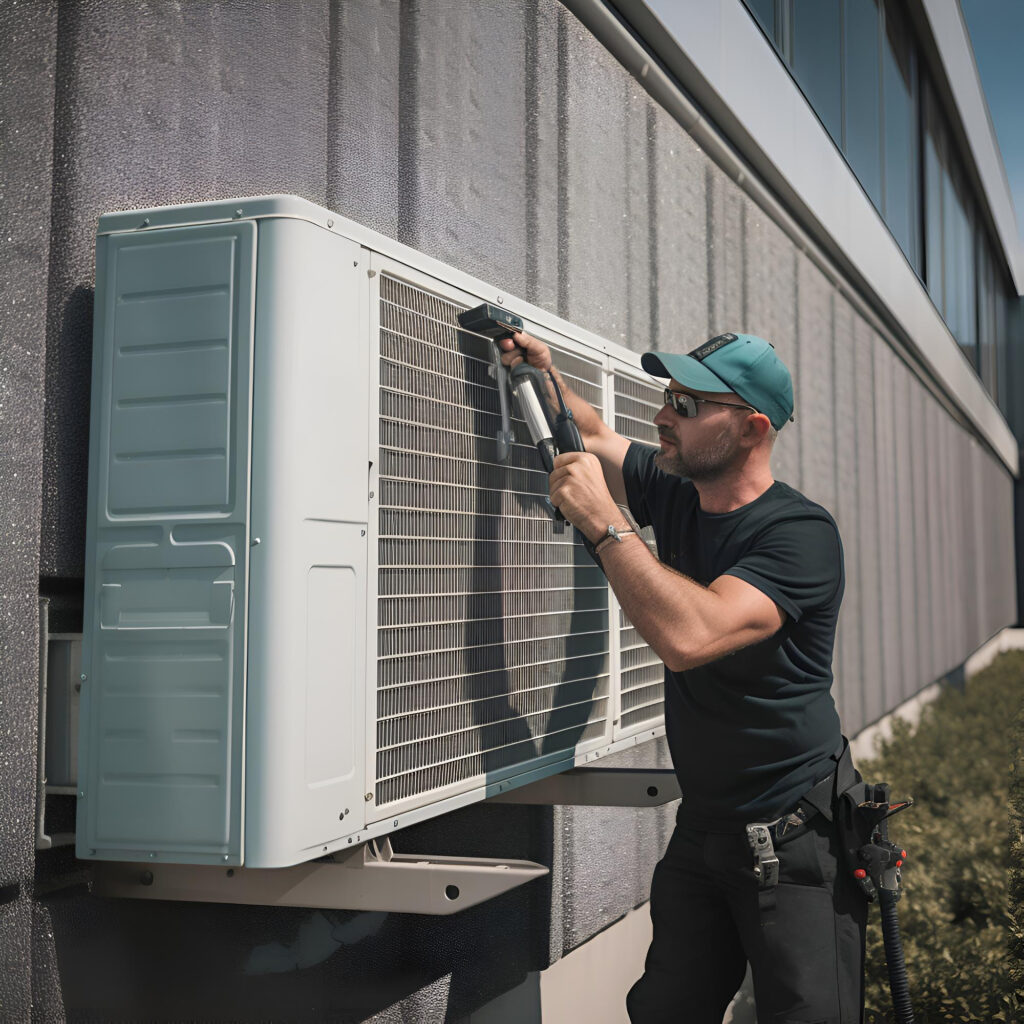
When selecting the prime location for your outdoor unit, consider various options such as placement on the ground, on the rooftop, or on an exterior wall with specialized mounting fixtures. Should you choose ground-level positioning, ensure that the unit is firmly anchored onto a concrete pad—either custom-made or acquired for this specific purpose.
After securely affixing the condenser, establish the connection between the indoor and outdoor units by linking the pipes and tubing, particularly if utilizing pre-charged lines in a DIY installation kit. Extreme caution must be exercised, avoiding any cutting of pre-charged lines due to the potential hazards of releasing refrigerant into the environment, which can cause serious skin injuries. Adhering to model-specific guidelines, carefully fasten these connections utilizing an adjustable wrench and torque wrench as necessary. In cases where the installation kit necessitates cutting and charging of lines, it is advisable to engage a professional technician for this critical task.
To maintain a tidy presentation and ensure stability, secure the wires and tubing along the exterior wall, utilizing appropriate covers. Proceed by attaching the suitable pipe joint to the line set at the rear of the outdoor unit, followed by linking the multi-conductor wiring extending between the indoor and outdoor units. Completing these connections may require the meticulous use of a torque wrench to guarantee precision.
Step 4: Engage A Professional For Follow-Up

Once you have successfully connected the indoor and outdoor units, we strongly recommend bringing in a professional A/C and heating specialist to manage the remainder of the task. This expert will ensure that your connections are secure and handle any potentially risky dry nitrogen and refrigerant aspects.
It is also essential to hire a licensed electrician to provide power to the unit. This phase of the project includes routing a 220-volt (or sometimes 120-volt) line from the breaker panel to a disconnect switch, and then from the switch to the unit.
The installation of a mini-split system can present challenges. Proceed with caution and patience, even if you have prior experience. Additionally, contemplate the installation of a wall-mounted ductless air conditioner for cooling smaller spaces. Should you require support, especially for the installation of a mini-split heat pump, consider utilizing our mini-split installation services for assistance.


